Want to know how to do gel nails at home? Gel nails are a great way to add a little extra glam to your manicure. They're also an ideal option if you want to make your polish last longer than just a few days, since gels are more durable than regular polish. In this article, I will walk you through the steps of giving yourself gel-polish manicures at home so that you can have beautiful nails for weeks!
Step 1: Prepare your nails.
Before you begin, wash and dry your hands and apply a base coat to each nail. Then use a polish as the color you'd like to cover the gel with (we recommend using our Gelish® brand colors). After that, apply a top coat to seal in all of these layers. When applying these products make sure that you're not applying too much pressure or else it will cause bubbles in your final product!
Wait for the nails to dry completely before moving on to step 2!
Step 2: Apply a thin layer of gel primer
- Apply a thin layer of gel primer, then base coat; make sure to cover the entire nail bed as this will prevent any discoloration from showing through your nails.
- Let it dry for several minutes before applying another thin coat of top coat and curing it with the UV light lamp again for 30 seconds or so (you can also use an LED lamp if you don’t have a UV one).
- Should you need to apply another layer of color, repeat steps 1–3 again before applying your final layer of top coat and curing it once more under the UV lamp
Step 3: Apply a base coat.
- Apply a gel color.
- Then apply a gel top coat.
- Remove the gel nails with a soak off solution, which will soften the product and allow you to peel it off like regular polish. Use nail buffer and/or nail file to smooth out any rough spots or ridges in your nails if desired!
Step 4: Make sure to file your nails until they are smooth.
- Keeping your nails looking great is simpler than you might think. A nail file, small enough to carry in your purse, should be used at least once a week to smooth your nails. Unlike a nail brush, which cleans your nails, a file smooths their edges, and both tools are affordable and readily available at most drugstores. For an even smoother finish, consider using a buffer. Just tilt it slightly and gently rub it across your nail until the edges are perfectly smooth. While focusing on personal grooming, don't forget to enhance your online presence too. For those looking to boost their YouTube channel, options like buying YouTube subscribers can be a valuable step towards gaining more views, subscribers, and likes, contributing significantly to your channel's growth. Just as with nail care, a little effort can lead to great results.
Step 5: Apply a base coat
- First, apply a base coat. A clear base coat will help protect your nails and make them more resistant to staining.
- Apply a top coat. Varnish helps prevent chipping, adds shine and makes the nail polish last longer. It's also important to apply it quickly after applying the color so that the two don't mix together before they dry, which can cause streaking or smudging on your nails.
Conclusion
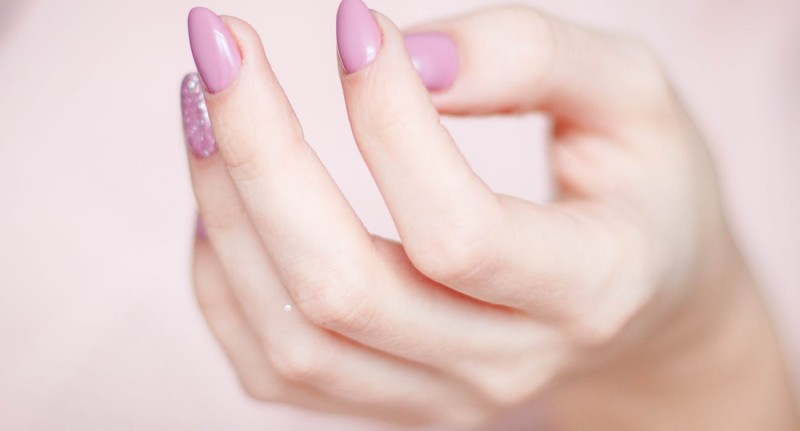
the final result is a long lasting manicure that looks like you went to a nail salon. There are many different products on the market today, but there is one I like and recommend for anyone who wants to do their own nails at home. Called UV Nail Lamps, it has everything you need!