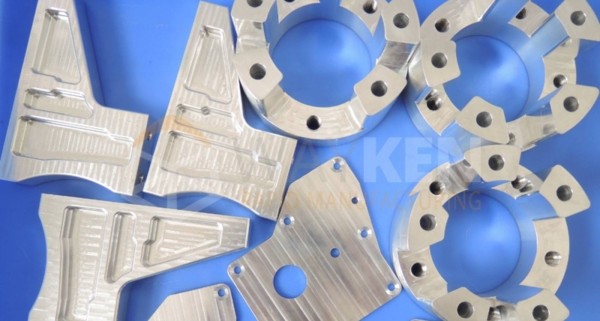
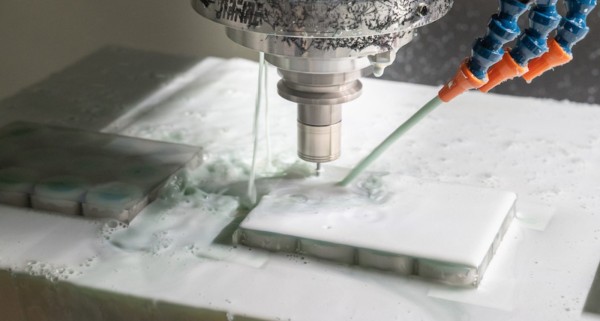
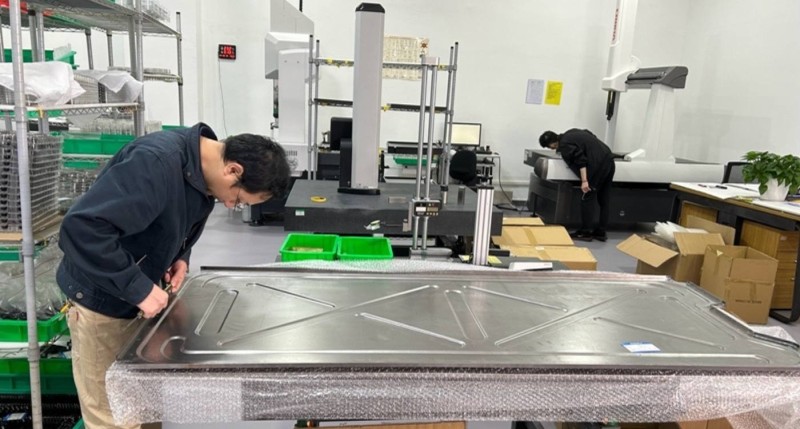
With the rapid growth of the industrial economy, the usage of CNC aluminum machining systems has increased dramatically. These advanced tools are essential in precision machining, offering exceptional dimensional accuracy and handling complex geometries with fine tolerances. Their capability makes them ideal for applications requiring great accuracy.
In 5-axis machining, aluminum parts' accuracy heavily relies on the machine's positional precision and repeatability. These factors ensure consistent quality in complex manufacturing processes, meeting the demands of modern industries for reliable and precise machined components.
Therefore, we at WayKen explore more about the position measurement effects of these CNC machine tools in this article.
How to Measure the Aluminum Parts Accuracy in 5-Axis Machining
In contrast to 3-axis processing, 5-axis aluminum CNC machines allow the tool's inclination to be changed in relation to the workpiece interface. A shift in the cutter rotation typically necessitates additional motion in the linear axes if the tool center point (TCP) stays in the same location. The traversal range that the linear axes require is always increased by these compensating motions. 5-axis device feed axes require far greater precision and repeatability since longer traverse ranges also result in more positioning deviation.
Accurate angle encoders can significantly increase the position accuracy and reliability of rotary axes in the manufacturing process of aluminum parts accuracy in 5-axis machining. This is known as a closed-loop function since the axis locations are now accurately determined on the machine's rotating axes rather than on the motor.
Here, positioning precision is unaffected by rotary axis transmission errors. Additionally, there is a noticeable increase in the CNC aluminum accuracy with which a rotary axis can move to a specific axis point over an extended length of time. The outcome is cost-effective production with less waste.
A torque motor's direct-drive rotational axes have a unique function. The unique design of the torque motors allows for extremely high torque without the need for an extra conventional mechanism. A high-quality angle encoder must be installed on the machine axis right away for rotary axes with torque motors. A closed loop is always used to operate them and measure the aluminum parts accuracy in 5-axis machining.
Position Measurement Effects on Aluminum Parts Accuracy in 5-Axis Machining
The position measurement accuracy of the aluminum parts in the 5-axis CNC machine center depends on the position precision that each machine tool coordinate axis can reach when controlled by the computerized operation device. It is also known as the machine tool's mobility accuracy. Since the computational control program's guidelines are what move the machine tool, the accuracy is dependent on the electromechanical transmissions and the numerical control system's inaccuracy.
1. Linear Position Measurement Accuracy
This refers to the precision with which a machine determines the exact linear position of its moving parts. Accurate linear measurement is critical for maintaining consistent cuts and aligning tools with workpieces, especially in complex geometries. Errors in this measurement can lead to deviations in part dimensions, undermining the product's functionality and quality.

2. Linear Position Repetitive Measurement Accuracy
The commander detection approach involves measuring at any three points around the middle and both ends of each coordinate stroke, quickly moving into each position, and then repeating the placement numerous times under the same circumstances. This factor is vital for mass production, where identical parts must be manufactured with minimal variation. Inconsistencies in repetitive accuracy can lead to increased scrap rates and compromised batch quality.
3. Origin Return Accuracy Detection of Linear Position
This involves the machine's ability to return to its reference point or origin with high precision after completing a machining cycle. Accurate origin return ensures that subsequent machining operations begin from the correct position, avoiding cumulative errors that can distort the final product. For 5-axis machining, this accuracy is especially crucial when switching between operations or realigning the workpiece.
4. Reverse Error of Linear Position Measurement
Reverse error, or backlash, occurs when there is a discrepancy between the forward and backward positioning of a machine's linear motion components. This issue can affect machining precision, particularly in intricate designs requiring bidirectional movements. Minimizing reverse error ensures smoother transitions and higher accuracy in creating fine features on aluminum parts.
How to Improve the Aluminum Parts Accuracy in 5-Axis Machining?
Enhancing the accuracy of aluminum parts in 5-axis machining is a multifaceted process that requires careful attention to position measurement and detection methods. The following approaches provide specific strategies to optimize precision in machining processes.
Improve the Position Measurement
Accurate position measurement is the foundation of precision in 5-axis machining. By using high-resolution linear encoders, manufacturers can precisely monitor the movement of machine axes. This reduces discrepancies in tool paths, ensuring smoother and more accurate cuts. Regular calibration of measurement devices and advanced software algorithms for real-time adjustments are essential for maintaining high standards in machining accuracy.
Presently, the machine tool is detected and processed using a dual-frequency laser analyzer. The real-time laser wavelength is utilized as the measuring standard in laser interferometry, which increases testing precision and broadens the range of applications.
Detection of Position Measurement on Rotary Tables
The rotary table's position measurement plays a critical role in achieving angular accuracy, particularly for complex geometries and multi-surface machining. Using high-precision rotary encoders ensures that the table's angular movements align with the desired positions. Additionally, advanced sensors can detect even minute deviations, enabling timely corrections to prevent cumulative errors in angular positioning.

Repeated Indexing Accuracy Detection
Repeated indexing accuracy ensures the rotary table returns consistently to the same position during multi-step operations. This is particularly important for maintaining part consistency in mass production. Regularly testing the rotary table’s indexing accuracy with specialized instruments, such as laser trackers or dial indicators, helps identify potential errors and improve repeatability.
Detection of Return-to-Origin Accuracy of the Rotary Table
The rotary table must reliably return to its original position to avoid misalignments in subsequent machining cycles. Advanced feedback systems, such as absolute encoders, ensure precise detection and verification of origin positions. Routine inspections and error compensation mechanisms further enhance the rotary table’s return-to-origin accuracy, safeguarding the quality of machined parts.
Conclusion
Position measurement is fundamental to achieving the precision and reliability required in 5-axis machining of aluminum parts. Accurate linear and rotary position measurements, combined with robust detection of errors and return-to-origin accuracy, ensure that machining operations meet the tight tolerances demanded in industries like aerospace, automotive, and medical manufacturing. By addressing challenges such as linear positioning errors, repeatability, and rotary indexing accuracy, manufacturers can enhance the dimensional and surface quality of their components.
Ultimately, leveraging advanced measurement technologies, routine maintenance, and error compensation strategies transforms machining processes, enabling the production of intricate and high-performance aluminum parts while maintaining operational efficiency and consistency.
