
If you are full of ideas about your website, but you are limited with time, it is the right moment to launch a website, portfolio, or anything else with a corresponding website builder. We have found many ideas for you to make the process of creation less expensive.
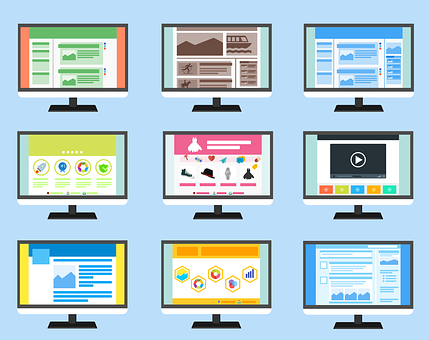
A website builder is an easy way to get a site online, but we recommend testing and overviewing different platforms and templates which are on the market to define the one with the best templates and features for your needs and requirements. The following tips will help you to find the starting point to launch an attractive website.
Step 1. Find a Website Builder
The market is full of website builders. The most popular and reliable are Wix, Site 123, Squarespace, GoDaddy Website Builder, WordPress.com, Weebly, Webnode, Square Online, Shopify, BigCommerce. Wix is the leader because it lets you create exactly what you want with the best free plan and over 500 templates for different types of websites. It also has a user-friendly design and functionality.
You can look on this site for a brief overview of such services. Also, we recommend paying special attention to SITE 123, because it has a delightfully simple design and it is easy to use even for newbies. It offers about 200 templates to choose from and 180 of them are mobile-responsive with a strong selection of apps to expand the site functionality.
Moreover, we advise you to test WordPress that offers free open-source software which is available through WordPress.org. It is a great choice for bloggers who do not need to spend money on website design. If you can't code and still want a WordPress website, it would be worth looking at Elementor. The WordPress website builder even offers built-in cloud hosting features, so you won't have to rely on a third party service.
Whereas if you want to create an e-commerce store, it is better to choose the Shopify platform. It offers an easy way to get an e-commerce website and it supports business owners.
Step 2. Sign Up for a Plan
After you define the best website builder for your website, it is time to sign up. So, choose the price plan according to the goals of the website. If you need a complex one, it is better to find an offer with the more complicated and expensive plan, if not – start from the cheapest plan and you can upgrade it at any moment.
The price for website builder plans varies from $8 to $40 per month. Also, there are even free plans for a certain period. However, if you deal with a website developer, your costs will be between $300 to $1,000 for the template.
Step 3. Choose a Unique and Relevant Domain Name
A domain name is a unique address of your website. You need to create one for your site so that it will be easy to read and found. If you already have a domain name, it can be transferred to the platform.
A domain name should:
- Be relevant – make sure that your domain name will match what visitors see when they visit your website.
- Be short – it is better for your company that people can remember the name of your website easily, so pick a short domain name.
- Contain no numbers: we recommend avoiding numbers in the domain name because it usually looks unprofessional and adds another element for people to remember.
Once, you buy a unique domain name from a website builder or with the help of other separate registrars, you can take it and move to a different platform wherever you want.
Step 4. Pick a Design Template
At the very moment, you have chosen a website builder signed up for a specific plan, find and purchase a domain, so it is time to create a website. Website builders offer a variety of templates, so you just need to find the one that you like. The better price you choose the more templates you will have. You can search for a template in different categories such as photography, restaurants, online stores, blogs, or portfolios.
You can test different templates, browse them and decide whether they fit or not. Then, customize the template by adding your content and images. Moreover, customization involves:
- Adding new pages;
- Changing the colors and size of the buttons;
- Create the corresponding brand content for a website;
- Linking social media channels as well as editing the images.
Website builders perform a variety of customization options, and it is not necessary to be a coder. Also, some of the website builders have a bank of free images which are available for you.
Step 5. Choose and Download Apps
The next step is to choose and add the missing functionality to your site. Most of the apps are free but if you need something special, you have to pay for it. For example, Wix has more than 300 apps in the App Market. The only thing you need to do is to find the best suitable apps for your needs and requirements.
Step 6. Preview, Test, Publish!
You are in the home stretch, so preview everything on the website before publishing it. You need to check the following:
- Are all spelling and grammar correct?
- Are all your buttons available and working well?
- Does your website look as you want and correspond to your needs?
- Is the formatting correct?
- Does it work both on desktop and mobile?
- Does the site load fast?
To preview the website, just find the corresponding button “Preview.” After you will be confident that everything is correct, press the button “Publish.”
Conclusion
Anyone can build a website easily and fast. Find some builders to test and see what happens. Many companies perform free templates to test. So, let’s summarize your steps in creating the website. Firstly, you need to choose the website builder suiting your needs. Secondly, you need to sign up for a plan according to your budget and needs. Then, choose a unique and relevant domain name as well as pick a design template.
After, we recommend customizing it by adding relevant content and downloading the corresponding apps. Finally, preview and publish the website. So, follow the 6 easy steps and you will receive a real website for your purposes or your business.
Also Read: Tips for Starting a Bike Rental Business